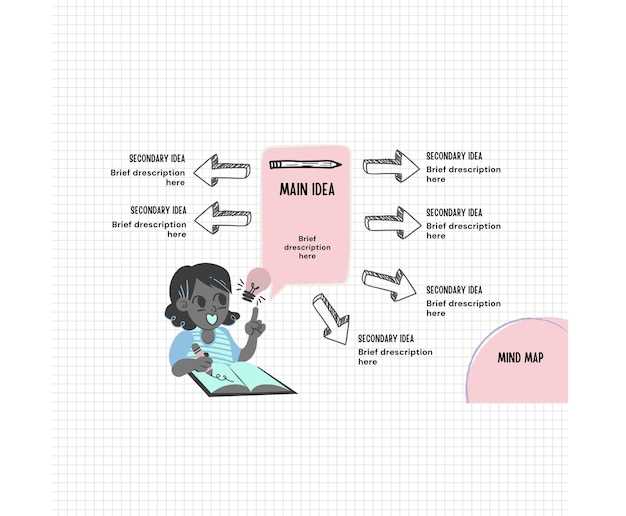
Organize your ideas clearly by starting with a mind map. This tool helps you visually connect thoughts, making it easier to structure your essay. For example, place your main topic in the center and branch out with supporting points.
Use a Venn diagram to compare and contrast ideas. This method highlights similarities and differences, giving your essay depth and clarity. It’s especially useful for argumentative or analytical writing.
Try a flowchart to map out the sequence of your arguments. This ensures your essay flows logically, guiding readers step by step through your reasoning.
For research papers, a KWL chart (Know, Want to Know, Learned) keeps your focus sharp. Start by listing what you already know, identify gaps, and track new findings as you research.
Graphic organizers save time and reduce stress. They turn complex ideas into manageable sections, helping you write with confidence and precision.
How to Choose the Right Graphic Organizer for Your Essay Type
Match the organizer to your essay’s structure. For argumentative essays, use a T-chart to separate pros and cons, or a flowchart to map out counterarguments and rebuttals. Narrative essays benefit from story maps or timelines to organize events chronologically. For compare-and-contrast essays, Venn diagrams or double-bubble maps highlight similarities and differences clearly.
Consider the complexity of your topic. Simple essays work well with basic organizers like webs or outlines, while multi-layered ideas might require hierarchical charts or concept maps. If your essay has multiple variables, matrix organizers help categorize information systematically.
Tailor the organizer to your audience. Academic essays often require formal structures like flowcharts or outlines, while creative pieces can use more visual tools like mind maps. Use color-coded organizers for clarity, especially when working with dense or technical content.
Experiment with digital tools for flexibility. Many platforms offer templates for specific essay types, allowing you to drag and drop elements as your ideas evolve. Test a few options to see which aligns best with your writing process.
Keep the organizer simple. Overcomplicating the layout can distract from your main points. Focus on clarity and ease of use, ensuring the tool enhances your writing rather than hinders it.
Step-by-Step Guide to Outlining Essays Using Graphic Organizers

Begin by selecting a graphic organizer that matches your essay type. For analytical essays, use a Venn diagram; for persuasive essays, try a T-chart, and for narrative essays, opt for a story map.
Write your main idea or thesis statement in the central section of the organizer. This keeps your focus clear and ensures all supporting points connect back to it.
Add supporting arguments or points in the surrounding sections. Use bullet points or short phrases to keep the structure concise and easy to follow.
Include evidence or examples for each argument in the designated areas. This helps you see where your essay has strong support and where it might need more details.
Review the organizer to identify gaps or weak areas. Adjust by adding more evidence or reorganizing points for better flow.
| Essay Type | Recommended Graphic Organizer |
|---|---|
| Analytical | Venn Diagram |
| Persuasive | T-Chart |
| Narrative | Story Map |
Once your outline is complete, start drafting your essay directly from the organizer. The visual layout makes it easier to transition smoothly between paragraphs.
Improve Clarity and Coherence with Visual Essay Planning
Organize your ideas logically with a mind map or flow chart. Start by placing your main topic in the center, then branch out with supporting points and evidence. This helps you identify gaps and connections early in the writing process.
Break down complex arguments into smaller sections using a table or grid. Label columns for key points, evidence, and analysis to ensure each part of your essay has a purpose. This structure prevents repetition and keeps your writing focused.
Use color coding to prioritize ideas. Highlight the most critical points in one color and supporting details in another. This method simplifies editing and helps you maintain a clear hierarchy of information.
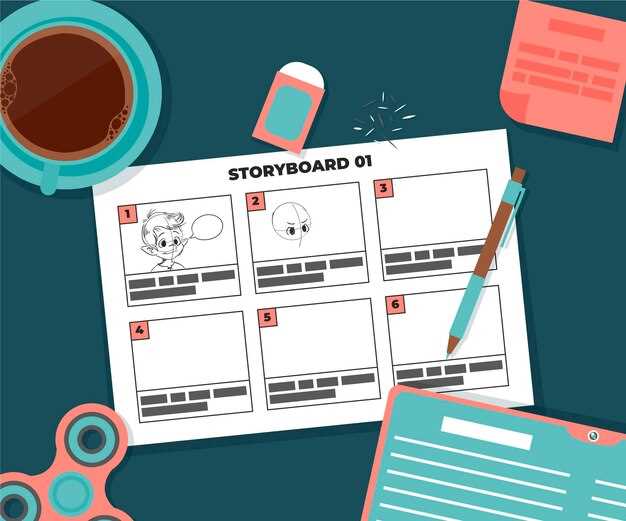
Create a timeline or storyboard for narrative essays. This visual approach ensures your events flow naturally and keeps your reader engaged from start to finish.
Test your essay’s coherence by summarizing each paragraph in a single sentence. If the sentences don’t connect smoothly, reorganize your content to improve the overall flow.
Visual planning tools save time and reduce stress by providing a clear roadmap for your essay. Try different methods to find what works best for your writing style and goals.
Common Mistakes to Avoid When Using Graphic Organizers
Overcomplicating the structure of a graphic organizer distracts from its purpose. Stick to clear, simple layouts that align with your essay’s goals. Too many sections or unrelated details can confuse the main focus.
- Ignoring the purpose of the organizer: Use the right type of graphic organizer for your task. For example, a Venn diagram works for comparisons, while a flowchart suits processes.
- Filling in content without planning: Brainstorm ideas first, then organize them logically. Placing ideas randomly defeats the purpose of the tool.
Don’t skip revising the organizer after filling it in. Check for missing connections or redundant points. A cluttered or incomplete organizer can weaken your essay’s flow.
- Using vague or incomplete labels: Clearly name each section or category. Ambiguous terms make it harder to expand ideas into paragraphs.
- Relying solely on the organizer: Treat it as a guide, not the final product. Add transitions and refine arguments when writing the essay itself.
Finally, avoid creating organizers without a clear audience in mind. Tailor the structure and details to meet the expectations of your readers or evaluators.
Practical Tips for Integrating Graphic Organizers into Your Writing Routine
Choose a graphic organizer that matches your writing goal. For brainstorming, use a mind map to visually connect ideas. For structuring arguments, try a T-chart or Venn diagram to compare and contrast points. Keep the tool simple and relevant to your task.
Set aside dedicated time to work with the organizer before writing. Spend 10-15 minutes filling it out to clarify your thoughts and identify gaps in your argument. This step ensures your writing flows logically and stays focused.
Use digital tools like Google Drawings or Canva for easy editing and sharing. These platforms allow you to adjust your organizer as your ideas evolve, saving time and effort. If you prefer paper, keep a notebook specifically for organizers to track your progress.
Review and refine your organizer as you write. Check if your main points align with your thesis and adjust the structure if needed. This habit helps maintain coherence and prevents unnecessary revisions later.
Practice regularly to make graphic organizers a natural part of your writing process. Start with shorter pieces, like emails or blog posts, to build confidence. Over time, you’ll find it easier to tackle complex essays or reports with clarity and precision.