

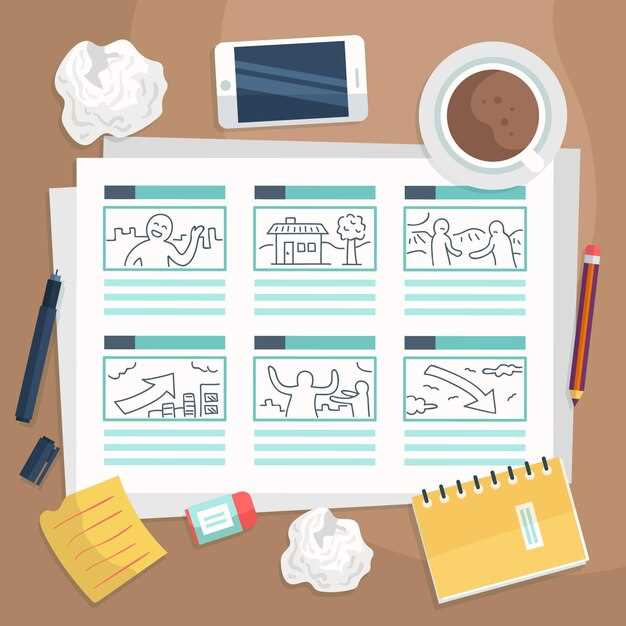
Start with a ready-made graphic organizer to structure your thoughts instantly. These tools help you break down complex ideas into manageable sections, saving time and reducing frustration. No more staring at a blank page–fill in the pre-designed boxes to outline your introduction, body paragraphs, and conclusion with ease.
Use visual maps to identify key points and connections between ideas. This approach ensures your essay flows logically, making it easier for readers to follow your argument. By organizing information visually, you can spot gaps in your reasoning early and address them before writing the first draft.
Choose organizers tailored to specific essay types, like persuasive or narrative. Templates designed for argumentative essays include sections for claims, evidence, and rebuttals, while narrative organizers focus on setting, characters, and plot development. This customization ensures your essay meets its purpose without unnecessary effort.
Graphic organizers are especially useful for collaborative projects. Share them with classmates or colleagues to brainstorm ideas collectively, ensuring everyone stays aligned. This method improves teamwork and helps create a more cohesive final product.
Invest in graphic organizers to streamline your writing process, reduce stress, and produce better essays. With these tools, you’ll spend less time organizing and more time crafting compelling content.
How to Choose the Right Graphic Organizer for Your Essay Type
Match the graphic organizer to your essay’s structure and purpose. For narrative essays, use a story map to outline characters, setting, and plot. This helps visualize the sequence of events and ensures a logical flow.
- Persuasive Essays: Opt for a T-chart or pro-con list. List arguments on one side and counterarguments on the other to strengthen your position.
- Expository Essays: Use a cause-and-effect diagram or a flowchart. These tools clarify relationships between ideas and make complex information easier to follow.
- Compare and Contrast Essays: Choose a Venn diagram or a double bubble map. These highlight similarities and differences between two subjects effectively.
- Descriptive Essays: Try a sensory details chart. Organize descriptions by sight, sound, touch, taste, and smell to create vivid imagery.
Consider the complexity of your topic. For multi-layered arguments, hierarchical organizers like tree diagrams work best. For simpler topics, basic charts or mind maps may suffice. Always test the organizer by sketching a rough outline to ensure it fits your needs.
Step-by-Step Guide to Structuring Essays with Graphic Organizers
Choose a graphic organizer that matches your essay type, such as a mind map for brainstorming or a flowchart for process essays. This ensures your ideas align with the structure you need.
Start by writing your main topic or thesis in the center of the organizer. Use branches or sections to list supporting points, ensuring each one connects logically to your central idea.
Add details under each supporting point, including evidence, examples, or quotes. This step helps you visualize the depth of your argument and identify gaps in your research.
Arrange your points in a logical order, such as chronological, cause-and-effect, or order of importance. Use arrows or numbering to indicate the flow of your essay.
Review your organizer to ensure clarity and coherence. Check for repetition, weak arguments, or missing transitions, and make adjustments as needed.
Transfer your organized ideas into a draft, using the structure you’ve created. This process saves time and keeps your writing focused and well-structured.
Common Mistakes to Avoid When Using Graphic Organizers
Overcomplicating the structure of your graphic organizer can lead to confusion. Stick to clear, simple layouts that focus on key points rather than adding unnecessary details. This ensures the tool remains helpful rather than overwhelming.
Failing to customize the organizer to fit your specific essay topic is another common error. Adapt the template to match the type of essay you’re writing, whether it’s persuasive, descriptive, or analytical. A one-size-fits-all approach often misses the mark.
Neglecting to review and revise the content within the organizer can result in weak arguments or incomplete ideas. Use the organizer as a starting point, but refine your thoughts as you progress to ensure clarity and coherence.
Relying too heavily on the organizer without allowing room for creativity can limit your writing. While it’s a useful tool, don’t let it restrict your ability to explore new ideas or unexpected connections.
Finally, skipping the step of transferring your organized ideas into a full draft can undermine the process. The organizer is a guide, not the final product. Use it to structure your thoughts, but ensure you develop them into a complete essay.
Tips for Teaching Students to Use Graphic Organizers Independently
Start with clear examples. Show students completed graphic organizers for essays, highlighting how each section connects to the final work. Use samples from past student assignments to make the process relatable.
Break it into steps. Teach students to fill out one section of the organizer at a time. For instance, focus first on brainstorming main ideas before moving to supporting details.
Provide templates. Give students a variety of pre-designed organizers to choose from, such as webs, outlines, or flowcharts. Let them experiment with different formats to find what works best for them.
Encourage self-reflection. After completing an organizer, ask students to evaluate how it helped them structure their essay. Prompt them to identify areas for improvement next time.
Practice with short tasks. Use quick writing exercises, like summarizing a paragraph or planning a short story, to help students get comfortable with organizers before tackling longer essays.
Gradually reduce guidance. Begin with detailed instructions and slowly step back. Let students take ownership of their organizers, building confidence in their ability to plan independently.
Real-Life Examples of Essays Improved by Graphic Organizers
Students struggling with essay structure often find clarity using graphic organizers. For instance, a high school student writing a persuasive essay on climate change used a T-chart to separate arguments and counterarguments. This visual approach helped them organize thoughts logically, resulting in a well-balanced and compelling essay.
Another example involves a college student preparing a research paper on historical events. By using a timeline graphic organizer, they mapped out key dates and their significance, ensuring the essay flowed chronologically. This method eliminated confusion and made the narrative easier to follow.
In a creative writing class, a student crafting a narrative essay used a story map to outline the plot, characters, and setting. This tool allowed them to visualize the story’s progression, leading to a more engaging and coherent final piece.
Teachers also report improved results when students use graphic organizers for compare-and-contrast essays. A Venn diagram, for example, helps students identify similarities and differences clearly, making their analysis more precise and structured.
These examples show how graphic organizers simplify complex tasks, turning overwhelming ideas into manageable steps. Whether for academic or creative writing, they provide a clear path to success.
Need this essay done?
A degree-holding writer handles any essay type, any subject, from $11 per page. Original work, on time.
Get Expert Help